My Little Pony Card Opening How to Buy and Open Packs
Shop prices, reveal animations, binder filing, and smart coin pacing.
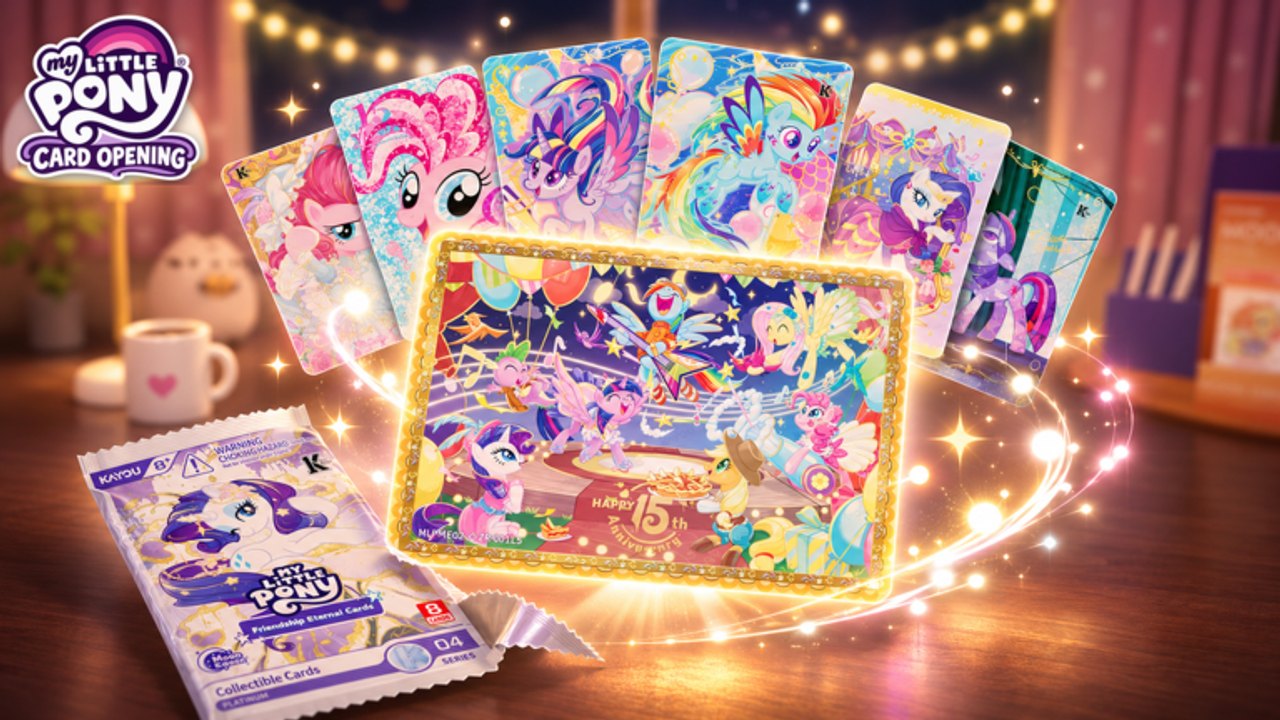
Opening packs is the signature moment in My Little Pony Card Opening. You convert coins into sealed packs at the shop, trigger the reveal animation, read each pull, and move the cards into your binder so the collection actually grows. This guide covers the full path—buying, opening, interpreting pulls, filing inventory, and pacing coins—so every rip feels intentional instead of random panic spending.
If you have not finished the onboarding overview, skim Getting Started first. For free coin income between shops, keep postcard coins open in another tab. When you care which SKU to buy, pair this page with best packs and card rarity.
Find the pack shop
The pack shop is the storefront where themed boosters sit on display. Expect Friendship Eternal–inspired lines, Moon-style presentations, and other pretty sets that players highlight in videos. Each pack shows a price in coins. Walk or camera-focus until the buy prompt appears, confirm you can afford it, and purchase only when your remaining balance still covers at least one postcard cycle or a backup cheap pack.
Shop layouts can feel busy on populated servers. Take a second to read pack names and art before confirming. Buying the wrong expensive pack because you mis-tapped wastes more time than waiting for the UI to settle. If a new set lands after an update, check updates so you know whether prices or contents changed.
Buy with a plan, not a vibe
Decide your goal before you spend:
- Binder coverage: cheaper or mid packs that flood commons and uncommons into empty pages.
- Chase hunting: higher-tier packs that players associate with holos and rare finishes.
- Trade fuel: any pack that reliably produces duplicates you can swap later.
A healthy first session often mixes one learning pack with postcard farming, then one intentional purchase once you understand reveal cues. Avoid dumping every coin into a single premium box on day one. Coin recovery is steady but not instant; the postcard loop and collection rewards are your refill valves.
Promo codes may eventually grant free packs or currency. None are confirmed yet, so keep an eye on codes without counting on them for your budget.
Trigger the open animation
After purchase, open the pack from your inventory or the prompt the shop gives you. Community gameplay shows a swipe-up style reveal: you pull through the pack and cards flip into view with back patterns, foil flashes, and rarity presentation. Watch the whole animation once or twice without skipping so your eyes learn what a “normal” pull looks like versus a chase hit.
Do not mash through opens if you are trying to learn sets. The art is the point of the game—slow reveals help you remember character names, set symbols, and finish types that matter when you trade or hunt rares later.
Read the pull like a collector
Every open produces a small stack of cards. Mentally sort them into three buckets:
- New binder slots — cards you do not own yet. Highest priority to file.
- Duplicates — extras for trading or future set completion gifts.
- Chase / holo stands-outs — anything with premium finish or scarce presentation. Treat carefully.
Rarity ladders vary by set. Use the visual language of the card (border, foil, logo treatment) plus the card rarity page rather than guessing from vibes alone. If you pull something that looks chase-tier, screenshot or note the name before you bury it in a busy binder page.
Move cards into the binder
Opened cards are not “done” until they live in the binder. File each pull, flip pages to confirm placement, and keep duplicates grouped so trade offers are easy to assemble. The binder is also your public flex and your personal checklist—empty slots tell you which packs or trades to chase next.
Some rewards track collection progress. Filing promptly prevents you from thinking you are missing a card that is actually sitting unsorted. When you want binder show-off tips and chase strategy, continue with rare cards.
Coin management between opens
Coins are the throttle. A practical rhythm looks like this:
- Check balance and any daily gifts.
- Complete ready postcard sends for a refill.
- Buy one pack aligned with your goal.
- Open, file, evaluate.
- Return to postcards before another premium buy.
If your balance bottoms out, stop shopping. Forcing opens with Robux before you understand rates and set goals usually feels worse than waiting one more postcard cycle. Free players who respect the loop open more packs over a week than players who burn currency in ten minutes and quit.
When comparing which packs deserve the next coin dump, read best packs. That page exists so you do not treat every shiny display item as equal value.
Common mistakes while opening
- Skipping the binder step and losing track of new versus duplicate.
- Opening only premium packs and starving common page completion.
- Ignoring postcard income until the shop feels “paywalled.”
- Trading chase pulls instantly without checking rarity context.
- Assuming every foil is equal across different sets and editions.
Fixing those habits matters more than any single lucky rip.
Multiplayer etiquette at the shop
Servers hold roughly twenty players. Give others space at popular shop displays, avoid blocking cameras during someone’s reveal if the game makes opens public, and keep trade talk out of the buy confirmation UI. Friendly servers make pack opening more fun; cluttered spam makes it harder to read prices.
If you use client tools, stay inside guidance on the scripts page and never automate trades or purchases in ways that risk your account.
Practice session outline
Spend twenty focused minutes:
- Note starting coins.
- Clear one postcard task.
- Buy the cheapest educational pack.
- Open slowly; name every pony you recognize.
- File all cards; mark one duplicate for a future trade.
- Clear another postcard if stickers allow.
- Buy a second pack only if coins remain above a personal safety floor.
- End the session by browsing binder gaps instead of rage-buying.
That outline builds muscle memory without emptying the wallet.
Link the rest of the wiki
Pack opening sits in the middle of the larger loop. Learn the whole onboarding path in Getting Started, refill currency via postcard coins, move extras through trading, and chase standouts with rare cards. Overview hubs for guides, tier list, and the wiki keep navigation short.
Master the buy → swipe → read → binder → refill cycle and My Little Pony Card Opening stays cozy instead of stressful. Pretty cards come from patience, clean filing, and coin discipline—not from mashing the most expensive pack the moment it appears.
Frequently Asked Questions
Quick answers to the most common questions.
How do I buy a pack?
Go to the pack shop, select a themed pack you can afford with coins, confirm the purchase, then open it from the prompt or inventory using the swipe-style reveal.
What should I do immediately after opening?
Identify new cards versus duplicates, file everything into your binder, and note any holo or chase finishes before you buy another pack or start a trade.
Should I always buy the most expensive pack?
No. Expensive packs can chase rarer finishes, but cheaper packs fill binder pages and teach set language. Match the pack to your goal and check the best-packs tier page.
I ran out of coins. What now?
Stop shopping and complete sticker postcard tasks for free coins. Claim daily or collection rewards if available, then return to the shop with a planned purchase.